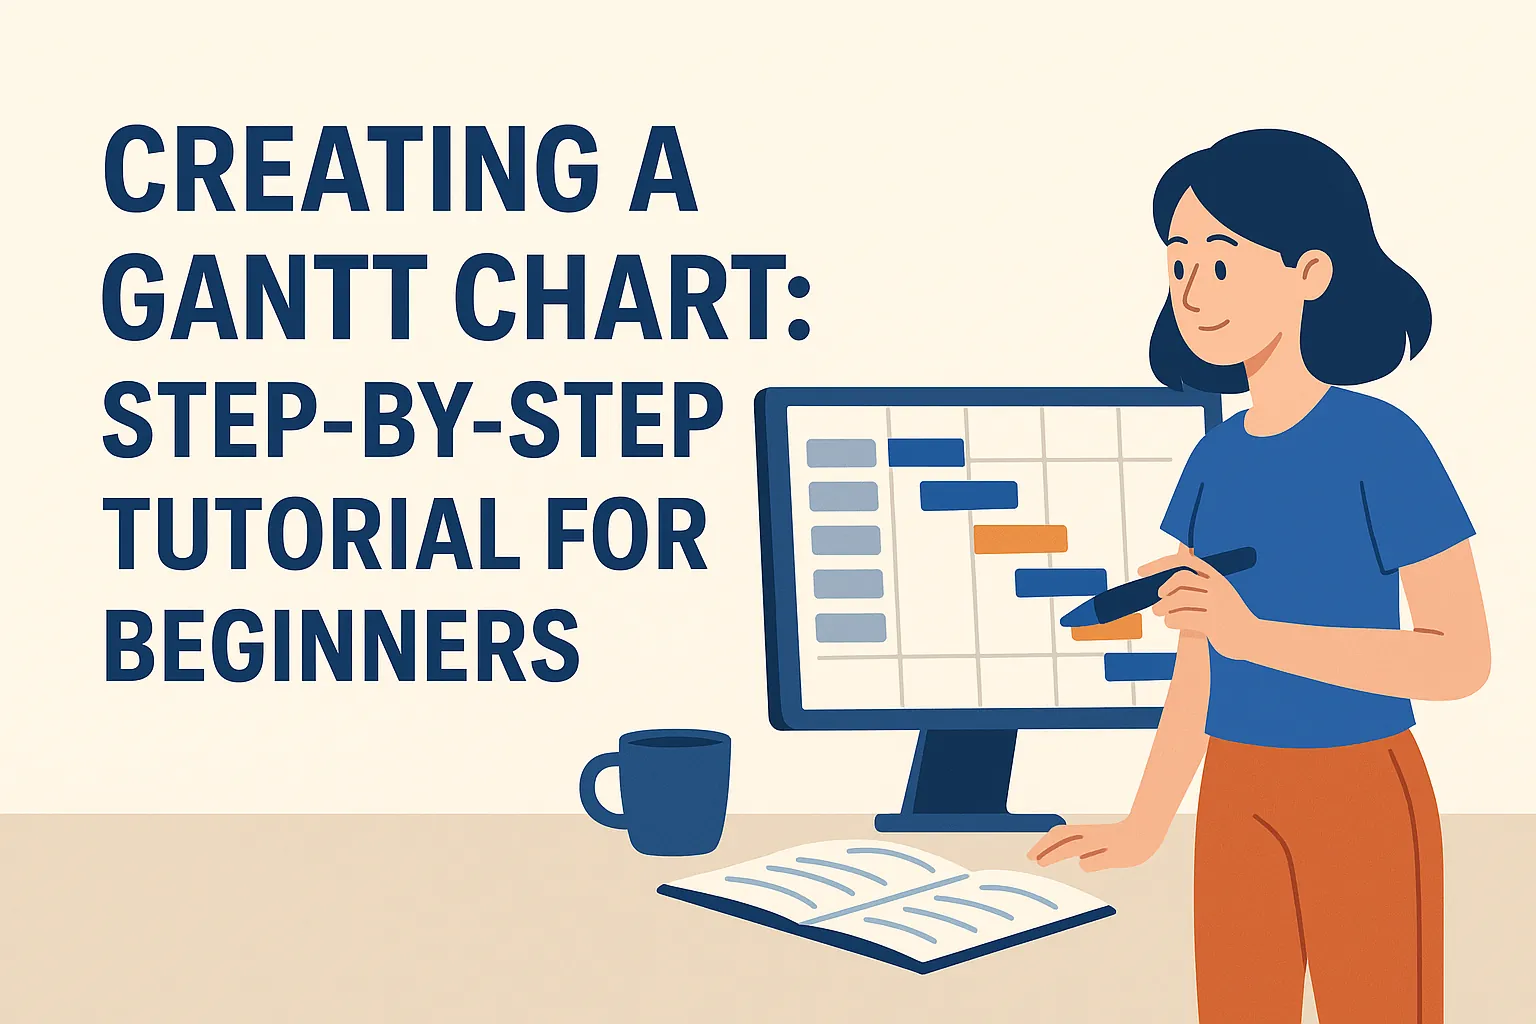
Introduction to Gantt Charts
Gantt charts are essential tools in project management that provide a visual representation of a project’s timeline, helping project managers and teams to plan, coordinate, and track specific tasks and milestones. This section will explore the definition, historical background, visualization capabilities, and significance of Gantt charts in effective project management.
Definition of Gantt Charts
A Gantt chart is a type of bar chart that illustrates a project schedule. It displays the start and finish dates of various elements of a project, including tasks, milestones, and dependencies. Each task is represented by a horizontal bar, with the length of the bar indicating the duration of the task. This visual format allows project managers to see at a glance what needs to be done, when it needs to be done, and how tasks overlap or depend on one another.
Historical Background and Development
The concept of the Gantt chart was developed by Henry Gantt in the 1910s. Gantt, an American engineer and management consultant, created this tool to improve the efficiency of production processes. Initially used in manufacturing, Gantt charts have since evolved and become a staple in various fields, including construction, software development, and event planning. Their ability to simplify complex project schedules has made them invaluable for project managers across industries.
Overview of How Gantt Charts Visualize Project Timelines and Tasks
Gantt charts provide a clear visual representation of project timelines by mapping out tasks along a horizontal timeline. Each task is displayed as a bar, with the position and length of the bar indicating the start date, end date, and duration of the task. This visualization helps project managers to:
- Identify Task Dependencies: Gantt charts can show which tasks are dependent on others, allowing for better planning and resource allocation.
- Monitor Progress: By updating the chart as tasks are completed, project managers can easily track progress and make adjustments as needed.
- Communicate with Stakeholders: Gantt charts serve as an effective communication tool, providing stakeholders with a clear overview of the project’s status and timelines.
Importance of Gantt Charts for Project Planning and Tracking
Gantt charts play a crucial role in project planning and tracking for several reasons:
- Enhanced Organization: They help project managers organize tasks in a logical sequence, ensuring that all aspects of the project are accounted for.
- Improved Time Management: By visualizing the timeline, project managers can allocate time effectively, ensuring that deadlines are met.
- Increased Accountability: Gantt charts clarify responsibilities by assigning tasks to team members, fostering accountability and ownership.
- Facilitated Resource Management: They allow project managers to identify resource needs and potential bottlenecks, enabling proactive management of resources.
Benefits of Using Gantt Charts
Gantt charts are a powerful tool in project management, especially for new project managers and students who are just starting to navigate the complexities of managing projects. Here are some key benefits of incorporating Gantt charts into your project management toolkit:
- Improved Visualization of Project Timelines: Gantt charts provide a clear visual representation of the project timeline, allowing project managers to see the start and end dates of tasks at a glance. This visual format helps in understanding the overall project schedule and identifying critical milestones, making it easier to plan and adjust timelines as needed.
- Enhanced Communication Among Team Members: By using Gantt charts, all team members can have a shared understanding of the project’s progress and deadlines. This transparency fosters better communication, as everyone is aware of their responsibilities and how their tasks fit into the larger project. It also helps in reducing misunderstandings and ensuring that everyone is on the same page.
- Simplified Tracking of Task Progress and Dependencies: Gantt charts allow project managers to track the progress of individual tasks easily. They can see which tasks are on schedule, which are behind, and how delays in one task may affect others. This feature is particularly useful for managing dependencies, as it highlights how the completion of one task may impact the start of another, enabling proactive management of potential bottlenecks.
- Facilitates Resource Allocation and Management: With a Gantt chart, project managers can visualize resource allocation across tasks. This helps in identifying over-allocated resources and allows for adjustments to be made to ensure that team members are not overwhelmed. Effective resource management is crucial for maintaining productivity and meeting project deadlines.
Essential Components of a Gantt Chart
Creating a Gantt chart is an essential skill for new project managers and students entering the field of project management. This visual tool helps in planning, scheduling, and tracking project progress. Below are the key components that make up a Gantt chart, which will help you understand how to effectively utilize this tool in your projects.
- Tasks and Subtasks: At the core of any Gantt chart are the tasks that need to be completed. Each task represents a specific activity required to achieve project goals. Subtasks break down larger tasks into manageable parts, allowing for a clearer view of the project’s workflow. This hierarchical structure helps in organizing work and ensuring that no detail is overlooked.
- Timeline with Start and End Dates: A Gantt chart visually represents the project timeline, displaying the start and end dates for each task. This timeline is crucial for understanding the duration of tasks and the overall project schedule. It allows project managers to see how tasks overlap and when they are expected to be completed, facilitating better time management.
- Milestones and Deadlines: Milestones are significant points in the project timeline that indicate the completion of key phases or deliverables. They serve as checkpoints to assess progress and ensure that the project is on track. Deadlines, on the other hand, are specific dates by which tasks or milestones must be completed. Including these elements in a Gantt chart helps maintain focus and accountability throughout the project lifecycle.
- Dependencies Between Tasks: Understanding task dependencies is vital for effective project management. A Gantt chart illustrates how tasks are interconnected, showing which tasks must be completed before others can begin. This information is essential for identifying potential bottlenecks and ensuring that the project flows smoothly from one phase to the next.
- Resource Allocation Indicators: Effective resource management is key to project success. Gantt charts often include indicators for resource allocation, showing which team members or resources are assigned to specific tasks. This visibility helps project managers balance workloads, avoid resource conflicts, and ensure that all necessary resources are available when needed.
By familiarizing yourself with these essential components of a Gantt chart, you will be better equipped to create and utilize this powerful project management tool. Whether you are managing a small project or a large initiative, understanding these elements will enhance your ability to plan, execute, and monitor your projects effectively.
Step 1: Identify Your Project Tasks
Creating a Gantt chart is an essential step in project management, especially for beginners. The first phase involves identifying and defining your project tasks, which sets the foundation for an effective Gantt chart. Here’s a step-by-step guide to help you through this initial phase:
1. Brainstorming and Listing All Project Tasks
- Gather Your Team: Start by assembling your project team or stakeholders to brainstorm all potential tasks. This collaborative approach ensures that you capture a comprehensive list of activities required for the project.
- Use a Whiteboard or Digital Tool: Write down all ideas on a whiteboard or use digital tools like Trello or Asana to facilitate the brainstorming process. Encourage everyone to contribute, as different perspectives can uncover tasks that may have been overlooked.
- Create a Master List: Compile all the tasks into a master list. This list will serve as the basis for your Gantt chart and should include every task, no matter how small, to ensure nothing is missed.
2. Breaking Down Tasks into Manageable Subtasks
- Decompose Larger Tasks: Once you have your master list, take a closer look at larger tasks and break them down into smaller, manageable subtasks. This decomposition helps clarify what needs to be done and makes it easier to assign responsibilities.
- Define Clear Deliverables: For each subtask, define clear deliverables and outcomes. This clarity will help team members understand their responsibilities and the expected results of their work.
- Establish Dependencies: Identify any dependencies between tasks and subtasks. Understanding which tasks must be completed before others can begin is crucial for accurate scheduling in your Gantt chart.
3. Prioritizing Tasks Based on Project Goals
- Align with Project Objectives: Review your list of tasks and subtasks in the context of your project goals. Prioritize tasks that are critical to achieving these objectives. This alignment ensures that your Gantt chart reflects the most important activities that drive project success.
- Use a Prioritization Matrix: Consider using a prioritization matrix to evaluate tasks based on factors such as urgency, importance, and resource availability. This tool can help you make informed decisions about which tasks to tackle first.
- Communicate Priorities: Once tasks are prioritized, communicate these priorities to your team. Ensuring everyone understands the order of operations will help maintain focus and efficiency throughout the project.
By following these steps to identify and define your project tasks, you will lay a solid foundation for creating a Gantt chart that effectively visualizes your project timeline and helps manage resources efficiently. This initial phase is crucial for ensuring that your project runs smoothly and meets its objectives.
Step 2: Determine Task Durations
Estimating task durations is a crucial step in creating an effective Gantt chart, as it directly impacts project scheduling and resource allocation. Here’s a beginner-friendly guide to help you accurately estimate how long each task will take.
Methods for Estimating Task Duration
Expert Judgment:
- Consult with team members or stakeholders who have experience with similar tasks. Their insights can provide valuable estimates based on past projects.
- Engage in discussions or brainstorming sessions to gather diverse perspectives on how long tasks might take.
Historical Data:
- Review data from previous projects to identify how long similar tasks took. This can help establish a baseline for your current project.
- Use project management software that tracks historical performance to analyze trends and make informed estimates.
Analogous Estimating:
- Compare the current task with similar tasks from past projects. If a previous task took two weeks, and the current task is similar in scope, you might estimate a similar duration.
- This method is particularly useful when historical data is readily available.
Parametric Estimating:
- Use statistical relationships between historical data and other variables. For example, if a task typically takes 5 hours per unit of work, and you anticipate 10 units, you can estimate a duration of 50 hours.
- This method can be more precise when you have reliable data to support your calculations.
Three-Point Estimation:
- Consider three scenarios: the best-case (optimistic), worst-case (pessimistic), and most likely duration. This approach helps account for uncertainty and variability in task completion.
- Calculate an average or weighted average to arrive at a more balanced estimate.
Importance of Being Realistic with Time Estimates
Being realistic in your time estimates is essential for several reasons:
- Avoiding Overcommitment: Unrealistic estimates can lead to overpromising on deliverables, which may result in missed deadlines and project delays.
- Resource Management: Accurate estimates help in allocating resources effectively, ensuring that team members are not overburdened or underutilized.
- Stakeholder Trust: Providing realistic timelines fosters trust and credibility with stakeholders, as they can rely on your estimates for planning and decision-making.
Considering Potential Risks and Uncertainties
When estimating task durations, it’s vital to consider potential risks and uncertainties that could impact timelines:
- Identify Risks: Assess factors that could delay tasks, such as resource availability, technical challenges, or external dependencies.
- Build Buffers: Incorporate buffer time into your estimates to accommodate unforeseen delays. This can help mitigate the impact of risks on the overall project timeline.
- Regular Review: Continuously monitor task progress and adjust estimates as necessary. Regular reviews can help identify emerging risks and allow for timely adjustments to the project plan.
By employing these methods and considerations, you can create more accurate task duration estimates, leading to a more effective Gantt chart and a smoother project management process.
Step 3: Establish Task Dependencies
In project management, understanding task dependencies is crucial for creating an effective Gantt chart. This step involves identifying the relationships between tasks, which helps in scheduling and optimizing project flow. Here’s a beginner-friendly guide to establishing task dependencies:
Defining Dependencies
Task dependencies refer to the relationships between tasks that dictate the order in which they must be completed. There are several types of dependencies to consider:
- Finish-to-Start (FS): This is the most common type of dependency, where one task must be completed before the next one can begin. For example, you must finish drafting a report before you can review it.
- Start-to-Start (SS): In this scenario, two tasks can start simultaneously, but one task must begin before the other can start. For instance, you can start designing a product while simultaneously starting the market research.
- Finish-to-Finish (FF): This type indicates that two tasks must finish at the same time. For example, the final testing of a product must be completed at the same time as the final documentation.
- Start-to-Finish (SF): This is a less common dependency where one task cannot finish until another task has started. An example might be a new system that cannot be decommissioned until the new system is operational.
Understanding these dependencies is essential for accurately mapping out your project timeline and ensuring that tasks are scheduled in a logical order.
Mapping Out Task Sequences and Critical Paths
Once you have defined the dependencies, the next step is to map out the task sequences. This involves arranging tasks in the order they need to be completed based on their dependencies.
- Task Sequences: Create a flowchart or list that outlines the order of tasks. This visual representation helps in understanding how tasks interconnect and the sequence in which they should be executed.
- Critical Path Method (CPM): Identify the critical path, which is the longest sequence of dependent tasks that determines the shortest time to complete the project. Understanding the critical path allows project managers to prioritize tasks that directly impact the project timeline.
Using Dependency Management to Optimize Project Flow
Effective dependency management is key to optimizing project flow. Here are some strategies to consider:
- Regularly Review Dependencies: As the project progresses, regularly review and adjust task dependencies. Changes in one task can affect others, so staying flexible is important.
- Utilize Project Management Software: Many project management tools offer features for managing dependencies and visualizing Gantt charts. These tools can automatically adjust timelines based on changes in task completion.
- Communicate with Your Team: Ensure that all team members are aware of task dependencies. Clear communication helps prevent misunderstandings and keeps everyone aligned on project goals.
By establishing and managing task dependencies effectively, you can enhance the efficiency of your project management process, ensuring that tasks are completed in a timely manner and that the project stays on track. This foundational step in creating a Gantt chart is essential for new project managers and students looking to develop their skills in project planning and execution.
Step 4: Create the Gantt Chart
Creating a Gantt chart is a crucial step in project management, as it visually represents the timeline of a project, helping you track progress and manage tasks effectively. Here’s a beginner-friendly guide to help you build your Gantt chart step-by-step.
Choosing the Right Tools and Software
Selecting the appropriate tools is essential for creating an effective Gantt chart. Here are some popular options:
- Microsoft Excel: A versatile tool that many are familiar with. You can create a Gantt chart using bar charts and conditional formatting. Excel is great for simple projects and offers flexibility in design.
- Project Management Software: Tools like Microsoft Project, Trello, Asana, and Smartsheet provide built-in Gantt chart features. These platforms often include additional functionalities such as task assignment, progress tracking, and collaboration features, making them ideal for more complex projects.
- Online Gantt Chart Makers: Websites like GanttPRO and TeamGantt offer user-friendly interfaces specifically designed for creating Gantt charts. They often include templates and drag-and-drop features, which can simplify the process for beginners.
Setting Up the Timeline and Inputting Tasks
Once you have chosen your tool, the next step is to set up your timeline and input your tasks:
- Define the Project Duration: Determine the start and end dates of your project. This will form the basis of your timeline.
- Input Tasks: List all the tasks required to complete the project. Break down larger tasks into smaller, manageable subtasks. Each task should have a clear title and description.
- Assign Timeframes: For each task, specify the duration it will take to complete. This can be in days, weeks, or months, depending on the project scale. Input these timeframes into your Gantt chart tool.
Adding Milestones and Dependencies Visually
Milestones and dependencies are critical components of a Gantt chart that help in tracking progress and understanding task relationships:
- Milestones: Identify key milestones in your project, such as the completion of a major phase or deliverable. These should be marked distinctly on your Gantt chart, often represented as diamond shapes or different colors. Milestones help stakeholders quickly assess progress.
- Dependencies: Establish relationships between tasks to indicate which tasks must be completed before others can begin. This can be visually represented with arrows or lines connecting the tasks. For example, if Task B cannot start until Task A is completed, this dependency should be clearly marked on the chart.
By following these steps, you will create a comprehensive Gantt chart that not only outlines your project timeline but also enhances your ability to manage tasks and communicate progress to your team and stakeholders. This visual tool is invaluable for new project managers and students alike, providing clarity and structure to project planning.
Step 5: Update and Maintain Your Gantt Chart
Maintaining an up-to-date Gantt chart is crucial for effective project management. As a beginner project manager or student, understanding how to keep your Gantt chart current will help you track progress, manage resources, and communicate effectively with your team. Here are some key points to consider:
- Regularly Updating Task Progress and Timelines: It is essential to frequently review and update the status of tasks in your Gantt chart. This includes marking tasks as complete, in progress, or delayed. By doing so, you can visualize the current state of your project and identify any potential bottlenecks. Regular updates help ensure that everyone involved is aware of the project’s progress and can adjust their efforts accordingly.
- Adjusting for Changes in Scope, Resources, or Deadlines: Projects often encounter changes that can affect timelines and resource allocation. Whether it’s a shift in project scope, the addition or removal of team members, or unexpected delays, your Gantt chart should reflect these changes. By adjusting your chart, you can maintain an accurate representation of the project timeline and ensure that all stakeholders are aligned with the new expectations.
- Using the Gantt Chart for Team Meetings and Progress Reviews: The Gantt chart serves as a visual tool that can facilitate discussions during team meetings and progress reviews. By presenting the chart, you can easily communicate the current status of the project, highlight completed tasks, and discuss any challenges that may have arisen. This visual representation fosters collaboration and helps the team stay focused on their goals.
Common Mistakes to Avoid
Creating a Gantt chart can be a powerful tool for project management, but beginners often encounter several pitfalls that can undermine its effectiveness. Here are some common mistakes to watch out for:
- Overlooking Task Dependencies: One of the most critical aspects of a Gantt chart is understanding how tasks relate to one another. Failing to identify and illustrate task dependencies can lead to scheduling conflicts and delays. For instance, if Task B cannot start until Task A is completed, this relationship should be clearly represented in the chart. Ignoring these dependencies can result in a misleading timeline and hinder project progress.
- Underestimating Task Durations: New project managers often misjudge how long tasks will take to complete. This underestimation can stem from a lack of experience or insufficient information about the tasks involved. It’s essential to take the time to assess each task realistically, considering potential obstacles and resource availability. Accurate duration estimates help in creating a more reliable project timeline.
- Failing to Update the Chart Regularly: A Gantt chart is not a static document; it requires regular updates to reflect the current status of the project. Beginners may create a chart at the start of the project and then neglect to revise it as tasks progress or change. Regular updates are crucial for tracking progress, reallocating resources, and adjusting timelines as necessary. Without these updates, the Gantt chart can quickly become outdated and lose its value as a project management tool.
- Making the Chart Too Complex or Cluttered: While it might be tempting to include every detail in a Gantt chart, overcomplicating it can lead to confusion. A cluttered chart can make it difficult for team members to understand their responsibilities and the overall project timeline. It’s important to strike a balance between providing enough detail and maintaining clarity. Focus on the key tasks and milestones, and consider using color coding or grouping similar tasks to enhance readability.
By being aware of these common mistakes, new project managers and students can create more effective Gantt charts that serve as valuable tools for planning and executing projects successfully.
Conclusion
In conclusion, Gantt charts are invaluable tools in project management that provide a visual representation of project timelines, tasks, and dependencies. Here are the key takeaways regarding their importance and benefits:
- Enhanced Planning and Scheduling: Gantt charts allow project managers to plan and schedule tasks effectively, ensuring that all team members are aware of their responsibilities and deadlines. This clarity helps in minimizing confusion and streamlining workflows.
- Improved Communication: By visualizing the project timeline, Gantt charts facilitate better communication among team members and stakeholders. Everyone can see the progress of tasks and understand how their work fits into the larger project goals.
- Resource Management: Gantt charts help in identifying resource allocation and potential bottlenecks. By visualizing task dependencies, project managers can optimize resource use and ensure that no team member is overburdened.
- Progress Tracking: With Gantt charts, tracking progress becomes straightforward. Project managers can easily see which tasks are on schedule, which are delayed, and how these delays might impact the overall project timeline.
As you embark on your journey to create Gantt charts, we encourage you to apply the steps outlined in this tutorial. Start by mapping out your project tasks, setting timelines, and identifying dependencies. The more you practice, the more proficient you will become in using this powerful tool.
Find out more about Shaun Stoltz https://www.shaunstoltz.com/about/.
This post was written by an AI and reviewed/edited by a human.